1
The Invoices summary page appears.
2
Click Search.

3
The Invoice Details page appears.
4
5
The Terms Date automatically updates to the same date as the Invoice Date.

6
7
8
A Warning pop-up appears.
9
10

11

Changing the date parameter often occurs when an invoice date does not match the accounting date. For instance, when an invoice arrives a week past it invoice date. These instructions explain how to edit an existing invoice's invoice date in Oracle ERP.
| Step | Action | Illustration |
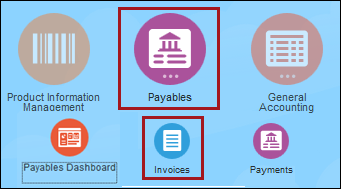
1 |
From the Home
screen, access the Invoices Dashboard
The Invoices summary page appears. |
|
2 |
Click the Search
Click Search. |
|
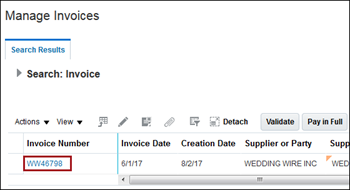
3 |
In the generated search results,
click the Invoice Number
link.
The Invoice Details page appears. |
|
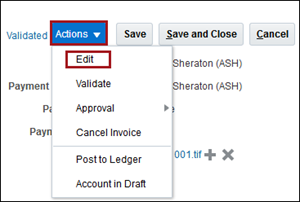
4 |
Click Actions and select Edit. | |
5 |
In the Invoice
Header section, locate the Date
field and click the Calendar
icon to select a date. A Warning
message appears.
The Terms Date automatically updates to the same date as the Invoice Date. |
|
6 |
Click OK. | |
7 |
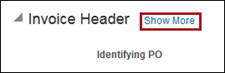
Click Show More (adjacent to the Invoice Header title). Four navigation tabs appear. | |
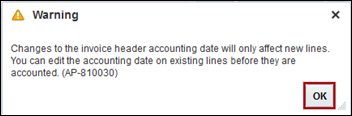
8 |
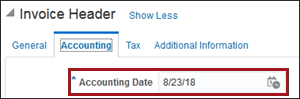
Click the Accounting
tab and change the Accounting
Date to the new Invoice
Date.
A Warning pop-up appears. |
|
9 |
Click OK. | |
10 |
If distribution lines were not configured before changing the dates, then all empty distribution line Accounting Date fields automatically change to the new date. If distribution lines were configured before changing the dates, ensure you modify their accounting dates to match the new invoice accounting date. | |
11 |
Click Save and Close at the top of the screen. | |
Updated 9/19/2018 JM