1
The invoice dashboard appears.
2
The Manage Invoices page appears.
3
Search results populate below.
4
The Invoice Details appear.
Use the steps below to Pay in Full or Post to Ledger to complete the payment process.
Follow the instructions below to pay an invoice:
Access the Invoice in Manage Invoices
Pay in Full
Post to Ledger, or
Create Payment (used for invoices that are created outside of Oracle)
| Step | Action | Illustration |
1 |
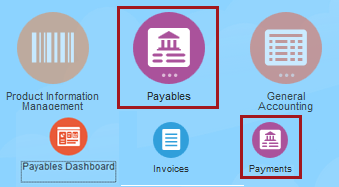
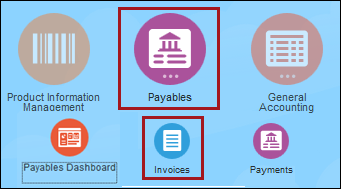
From the Dashboard,
click Payables and
select Invoices.
The invoice dashboard appears. |
|
2 |
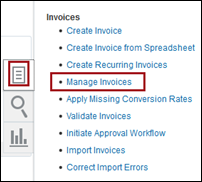
Click the Task
The Manage Invoices page appears. |
|
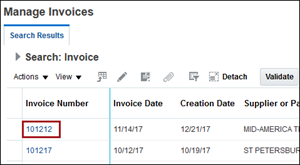
3 |
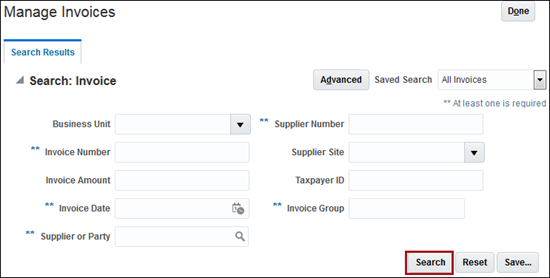
Enter one or more of the Search parameters and click
Search.
Search results populate below. |
|
4 |
Click the Invoice
Number of the appropriate invoice.
The Invoice Details appear. Use the steps below to Pay in Full or Post to Ledger to complete the payment process. |
|
| Step | Action | Illustration |
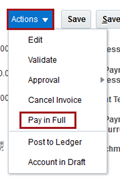
1 |
From the Invoice
Details screen, click the Actions
menu and select Pay
in Full.
The Pay in Full page appears. |
 |
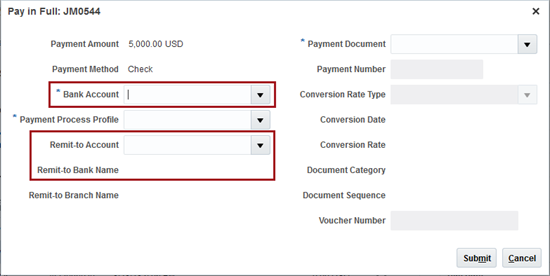
2 |
Enter the Bank
Account to pay the invoice.
The Remit to Account and Bank Name fields populate. |
 |
3 |
Select the Payment Process file from the list. |  |
4 |
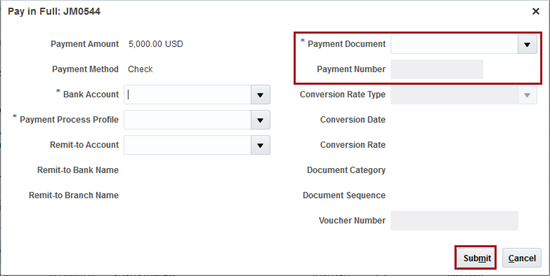
Enter the Payment
Document. The Payment
Number field is auto-populated.
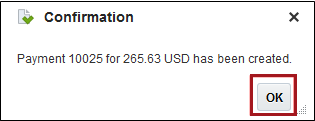
Click Submit. A Confirmation pop-up appears. |
 |
5 |
Click OK.
The invoice Status changes to Paid. |
 |
| Step | Action | Illustration |
1 |
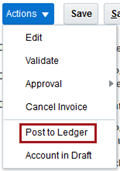
From the
Invoice Details screen, click the Actions
menu and select Post
to Ledger.
A Confirmation pop-up appears. |
 |
2 |
Click OK. |  |
3 |
Click the Invoice Status link to view the Invoice Summary. The of Accounting status updates to Accounted. | 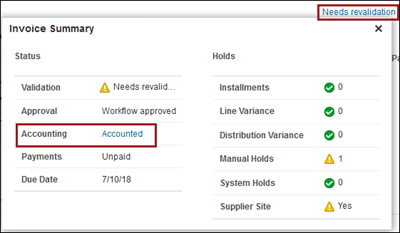 |
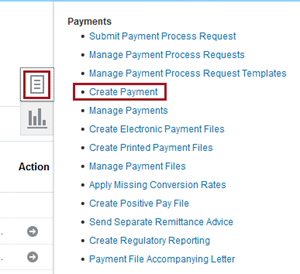
The Create Payment feature is used to pay invoices that are created outside of Oracle ERP.
| Step | Action | Illustration |
1 |
From the dashboard click Payables and select
Payments.
The Payments page appears. |
|
2 |
Click the Task
The Create Payment page appears. |
 |
3 |
Select the Business Unit. | 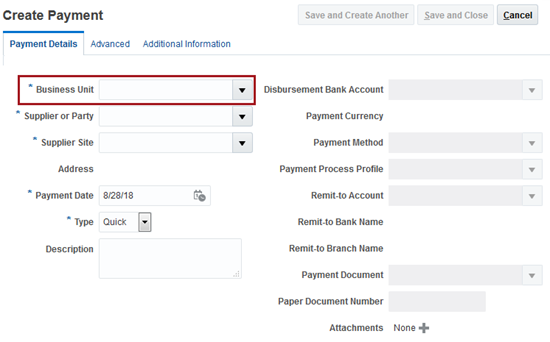 |
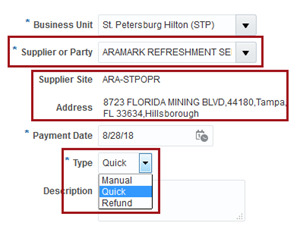
4 |
Select the Supplier
or Party associated with the invoice. The
Supplier Site and Address fields auto-populate.
Select one of the following in the Type field:
|
 |
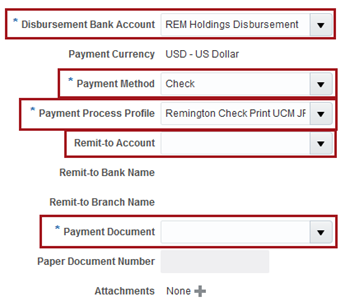
6 |
Select the Disbursement
Bank Account.
Select the Payment Method. Select the Payment Process Profile. The Remit-to Account, Bank Name, and Branch Name auto-populate. Enter the Payment Document. The Paper Document Number auto-populates. |
 |
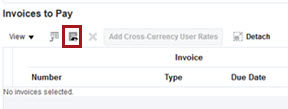
7 |
Scroll to the Invoices
to Pay section and click the Add
Invoice icon.
The Select and Add: Invoice to Pay pop-up appears. |
 |
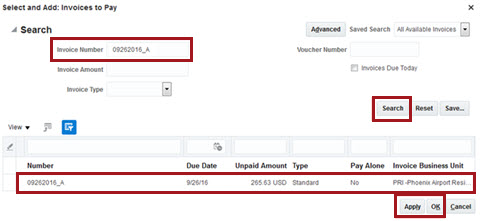
8 |
Enter one or more of the Search parameters and
click Search.
From the populated Search results, select the appropriate invoice. Click Apply to apply the invoice to the payment.. Click OK. |
 |
9 |
In the top of the
Create Payment screen, click Save
and Close.
A Confirmation pop-up appears. |
 |
10 |
Click OK. | |
Updated 12/13/2018 JM