1
From the Home screen:
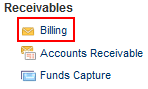
Click the Navigator icon and select Billing from the Receivables section.
OR
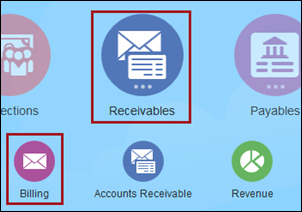
Click Receivables and select Billing from the options.
The Invoices page displays.

2
3
4

5
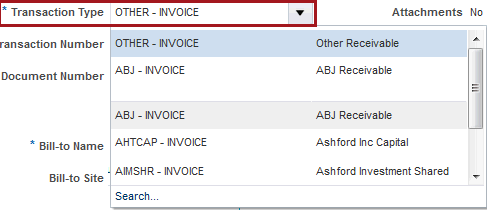
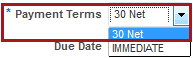
Select the appropriate Transaction Type.
6
7
Attach the invoice, if applicable,
by clicking the Add ![]() icon. The Attachments
pop-up window appears.
icon. The Attachments
pop-up window appears.

8
Click Browse and select the required invoice file. Click OK.
![]()
9
*Note: In most cases the Ship-to name, Bill-to Site, and Ship-to Site parameters automatically populate based on the Bill-to name; if required, change the automatic configuration.

10
11
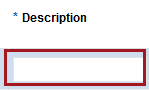
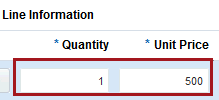
- Description
- Quantity
- Unit Price
12
13
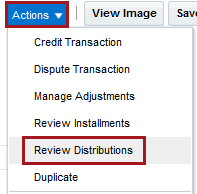
14
From Review Distributions, verify the accounting information is correct. If required, modify the distributions.
*Note: Verify there is no tax.
Click Save and Close.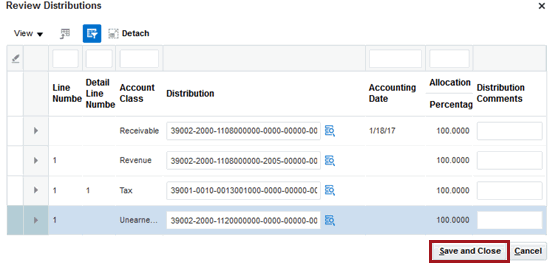
15
Click Save.
OR
Click Cancel to return to the Billing page.
