| Step |
Action |
Illustration |
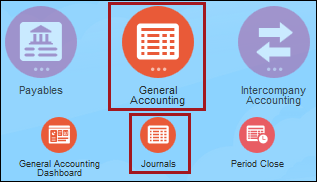
1 |
On the Home
screen, click General Accounting
and select Journals. |
 |
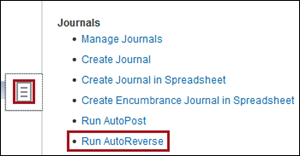
2 |
On the right of the Journals
screen, click the Task
 icon and select Run
AutoReverse. icon and select Run
AutoReverse.
The AutoReverse
Journals screen displays. |
 |
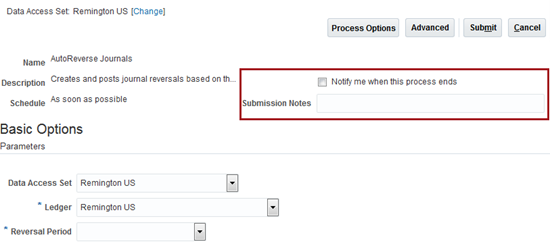
3 |
On the AutoReverse
Journals screen, enter the following optional information:
- Notify
me when process ends: Click to be notified.
- Submission
Notes: Enter any notes needed for the submission.
|
 |
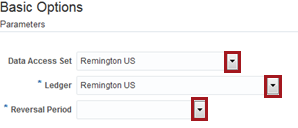
4 |
Basic
Options:
In the Basic
Options section, click the arrow to select the information
for the following fields:
- Data
Access Set
- Ledger
- Reversal
Period
|
 |
5 |
When the screen is configured,
click Submit at the top
of the screen. |
 |
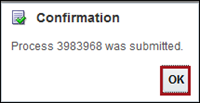
6 |
A Confirmation
window displays. Click OK.
If the Notify
me was selected, you receive an emailed notification. |
 |
7 |
The AutoReverse
Journals screen closes and the Journals
Dashboard displays.
Scroll to the Process
Monitor and click the Refresh
 to see the AutoReverse
Journals process. to see the AutoReverse
Journals process. |
 |
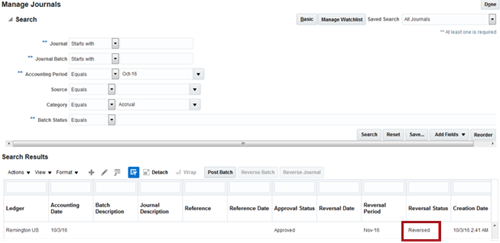
8 |
From Manage
Journals, search for the relevant batches to confirm the
reversals.
Note:
Use the horizontal scroll bar to view the Reversal
Status column. |
 |
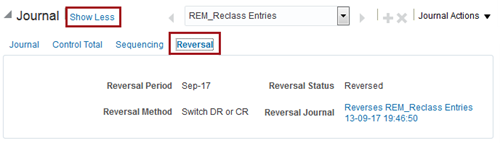
9 |
Open the
Journal Entry, then expand the Journal
section. |
 |