Follow the steps below for reversing and posting a journal.
| Step |
Action |
Illustration |
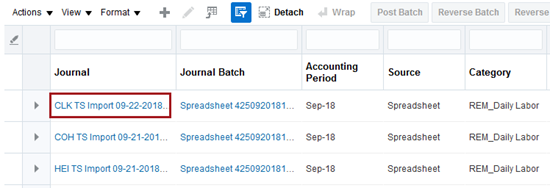
1 |
Open the desired posted journal
and ensure you are on the Edit
Journal page. |
 |
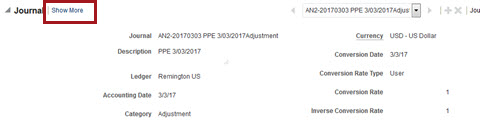
2 |
In the Journal
section, click Show More.
Additional tabbed options appear. |
 |
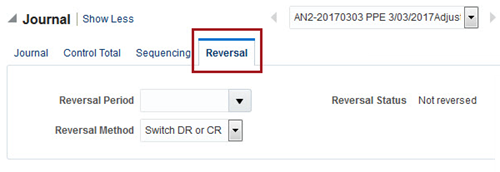
3 |
Click the Reversal
tab. Reversal fields appear. |
 |
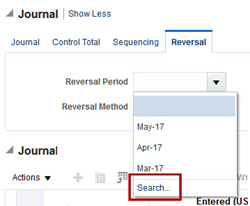
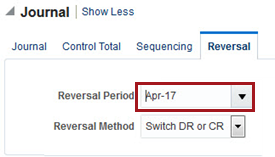
4 |
Click the Reversal Period arrow
to see the list of available dates, or click Search at the bottom
to enter an Accounting Period date.
Dates must be entered as Mmm-yy
|
 |
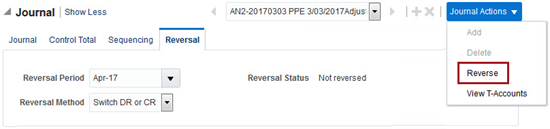
5 |
Click on the drop-down arrow for
Journal Actions and
click Reverse. |
|
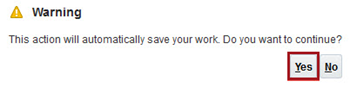
6 |
Click Yes.
A confirmation pop-up appears indicating that the process has
been submitted. |
 |
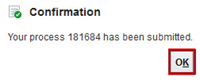
7 |
Click OK.
The Reversal tab reappears.
Note:
The Reversal Status field does not change and remains empty
until you return to the Manage Journals page. |
 |
8 |
In the Edit
Journal section, click the drop-down arrow and select Save and Close. |
 |
9 |
From the list in the Search
section, click the journal you just reversed. |
|
10 |
In the Journal
section, click Show More.
Additional tabbed options appear. |
|
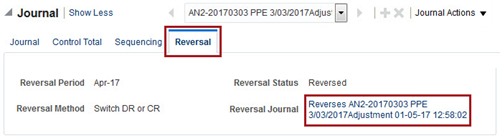
11 |
If not already viewable, click
on the Reversal tab.
The Reversal
Journal appears in the Reversal
Journal field.
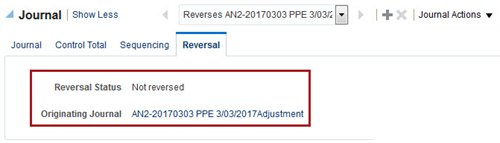
Click Reversal
Journal.
The Reversal
Status and Originating
Journal information displays. |
 |
12 |
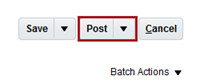
Click Post.
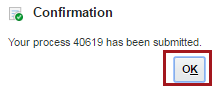
A confirmation pop-appears indicating that the process has been
submitted. |
 |
13 |
Click OK.
The process is complete. |
 |