1
2
3
4
5
6
7
8
9
10

This procedure describes how to create a trusted file in Excel. The ADFDI add-in must be installed and configured in Excel prior to executing the steps in this procedure.
| Step | Action | Illustration |
|
1 |
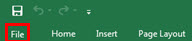
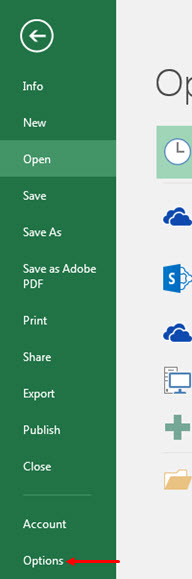
Open Excel and click File, then select Options. The Excel Options pop-up appears. | |
|
2 |
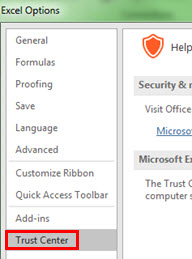
Click Trust Center. | |
|
3 |
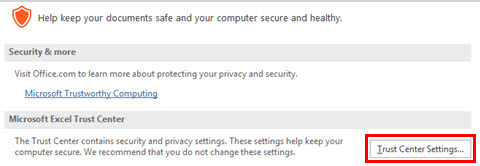
In the Microsoft Excel Trust Center section, click Trust Center Settings. The Trust Center pop-up appears. | |
|
4 |
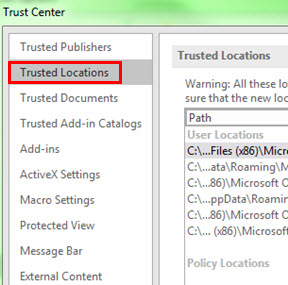
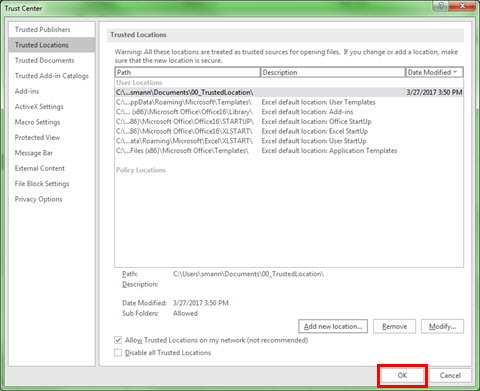
Click Trusted Locations. The Trusted Locations page appears. | |
|
5 |
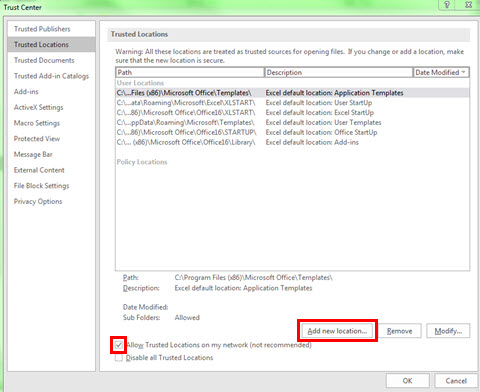
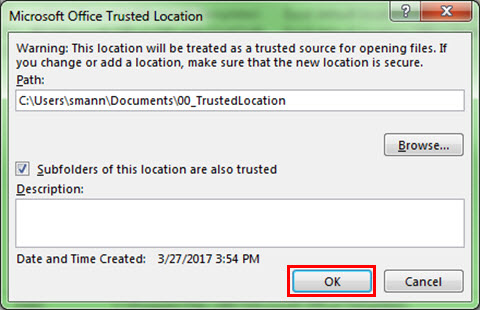
Enable the Allow Trusted Locations on my network check box and click Add new location. The Microsoft Office Trusted Location pop-up appears. | |
|
6 |
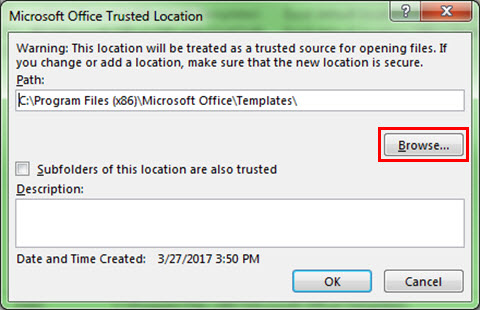
Click Browse. The Browse pop-up appears. | |
|
7 |
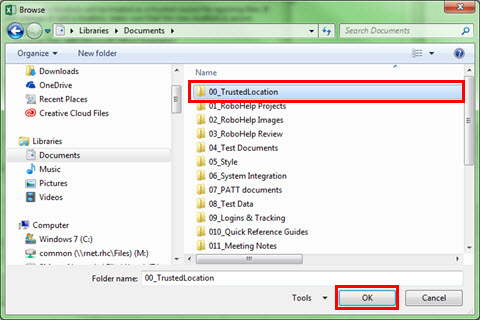
Locate the desired folder, highlight, and click OK. The Microsoft Office Trusted Location pop-up appears. | |
|
8 |
Enable the Subfolders of this location are also trusted check box. Click OK. The Trust Center window appears. | |
|
9 |
Click OK. The Excel Options window appears. | |
|
10 |
Click OK. | |