1
2
Enter Refresh Receivables into the Search field to search for the Refresh Receivables Transactions for Customer Account Summaries process.
Select the process and click OK.
3
Click OK.
4
Click Submit.
5
6
A dunning notice is emailed to customers with unpaid transactions aged over 30 days. The process described below sends one of the following letters to the customer's contact with the assigned dunning responsibility.
30+ Day Dunning: Customers with unpaid transactions from 31 to 60 days old.
60+ Day Dunning: Customers with unpaid transactions from 61 to 90 days old.
90+ Day Dunning: Customers with unpaid transactions older than 90 days.
Dunning Letters are created and sent using Scheduled Processes. The following processes are run to create and send the final dunning letters:
Refresh Receivables Transactions for Customer Account Summaries
Collections Delinquency Management
Update Collections Summary Data
Validate Customer Dunning Setup Process
Send Dunning Letters
Each section below shows the instructions to run these processes.
Follow the steps below to run the scheduled process.
| Step | Action | Illustration |
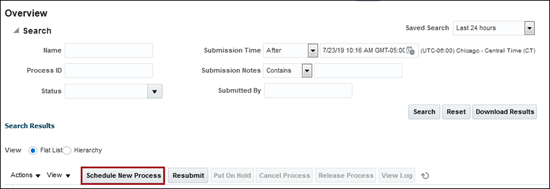
1 |
Click the Schedule New Process button. | |
2 |
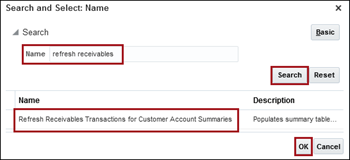
Search
for the Process:
Enter Refresh Receivables into the Search field to search for the Refresh Receivables Transactions for Customer Account Summaries process. Select the process and click OK. |
|
3 |
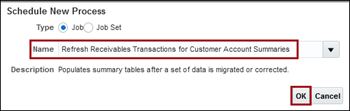
The process displays in the Name field.
Click OK. |
|
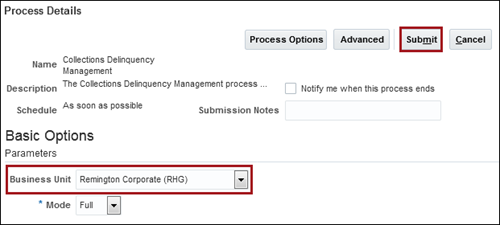
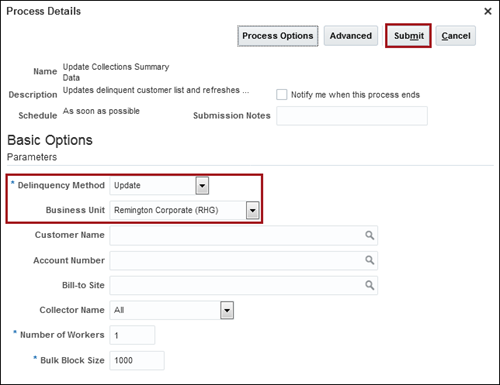
4 |
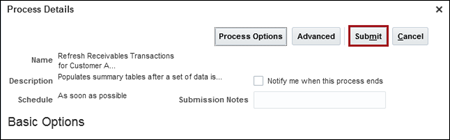
The Process
Details window displays.
Click Submit. |
|
5 |
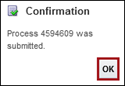
A Confirmation window displays showing the process is submitted. | |
6 |
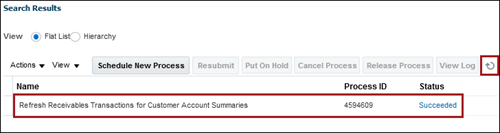
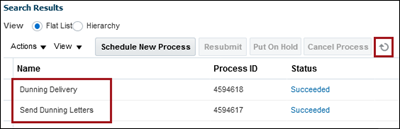
On the Overview
screen, click the Refresh |
|
Follow the steps below to run the scheduled process.
| Step | Action | Illustration |
1 |
Click the Schedule New Process button. | |
2 |
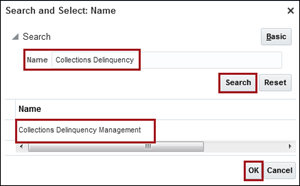
Enter Collection
Delinquency into the Search
field to search for the Collections
Delinquency Management process.
Select the process and click OK. |
 |
3 |
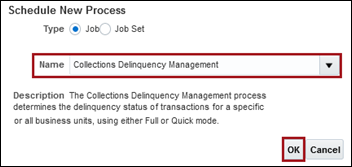
The process displays in the Name field.
Click OK. |
 |
4 |
The Process
Details window displays.
Complete the following fields:
Click Submit. |
 |
5 |
A Confirmation window displays showing the process is submitted. | 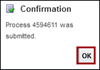 |
6 |
On the Overview
screen, click the Refresh |
 |
Use the following steps to run the scheduled process.
| Step | Action | Illustration |
1 |
Click the Schedule New Process button. | |
2 |
Enter Update
Collections into the Search
field to search for the Update
Collections Summary Data process.
Select the process and click OK. |
 |
3 |
The process displays in the Name field.
Click OK. |
 |
4 |
The Process
Details window displays.
Complete the following fields:
Click Submit. |
 |
5 |
A Confirmation window displays showing the process is submitted. | 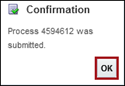 |
6 |
On the Overview
screen, click the Refresh |
 |
Use the following steps to run the validation report.
| Step | Action | Illustration |
1 |
Navigate to the Scheduled
Processes Overview screen.
In the Search Results area, click Schedule New Process. |
|
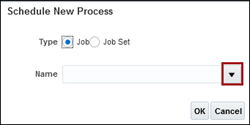
2 |
The Schedule
New Process window displays. Click the Name
arrow to see the processes list.
At the bottom of the list, click Search to open the Search window. |
 |
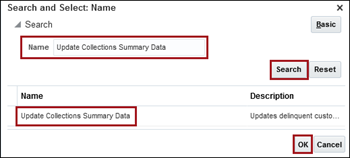
3 |
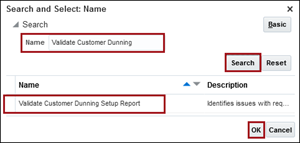
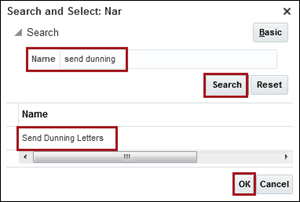
Enter Validate
Customer Dunning into the search field and click Search.
Select the process and click OK. |
 |
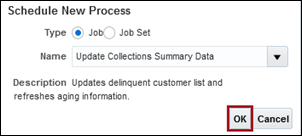
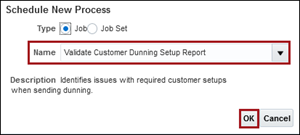
4 |
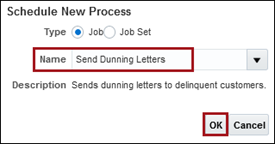
The process displays in the Schedule New Process window
in the Name field.
Click OK. |
 |
5 |
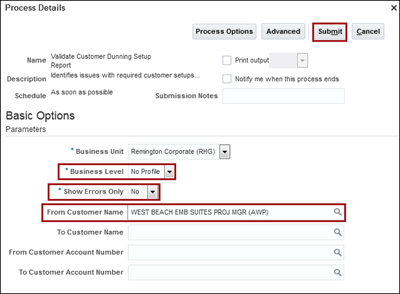
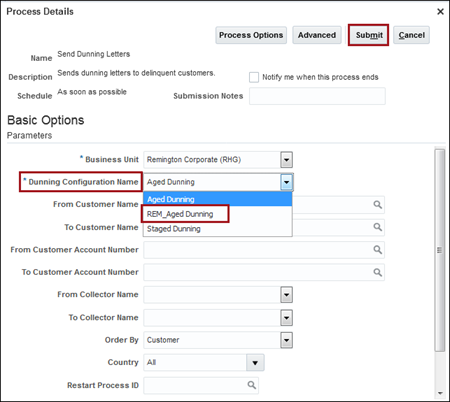
The Process
Details window displays.
Complete the following fields:
Click Submit. |
 |
6 |
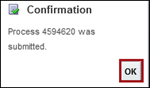
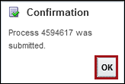
The Confirmation
window displays.
Click OK. |
 |
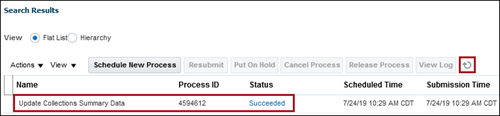
7 |
On the Overview screen, click the Refresh icon until the process shows a Succeeded status. | 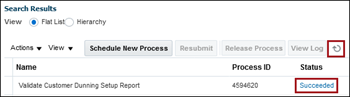 |
8 |
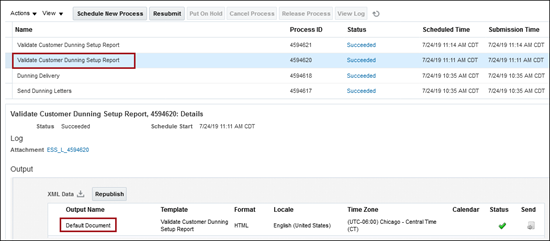
Select the Validate Customer Dunning
Setup Report and scroll down to the Output section.
Click the report title to download the report. |
 |
9 |
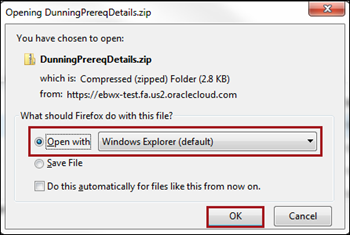
An
Open Zip File window displays. Select Open
with Windows Explorer.
Click OK. |
 |
10 |
The file saves to the computer's
Download file.
Click the report title to open the report to view. |
 |
11 |
The Report displays on the screen with the Error Details shown for any customer's entered incorrectly. | 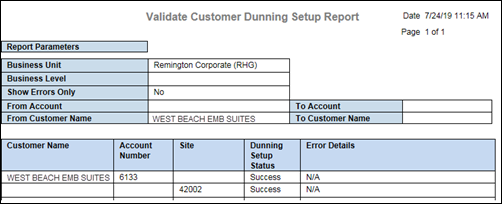 |
Use the following steps to run the scheduled processes.
| Step | Action | Illustration |
1 |
Click the Schedule New Process button. | |
2 |
Enter Update
Collections into the Search
field to search for the Send
Dunning Letters process.
Select the process and click OK. |
 |
3 |
The process displays in the Name field.
Click OK. |
 |
4 |
The Process
Details window displays.
Complete the following fields:
Click Submit |
 |
5 |
A Confirmation
window displays showing the process is submitted.
|
 |
6 |
On the Overview
screen, click the Refresh |
 |
Updated 7/26/2019 JM